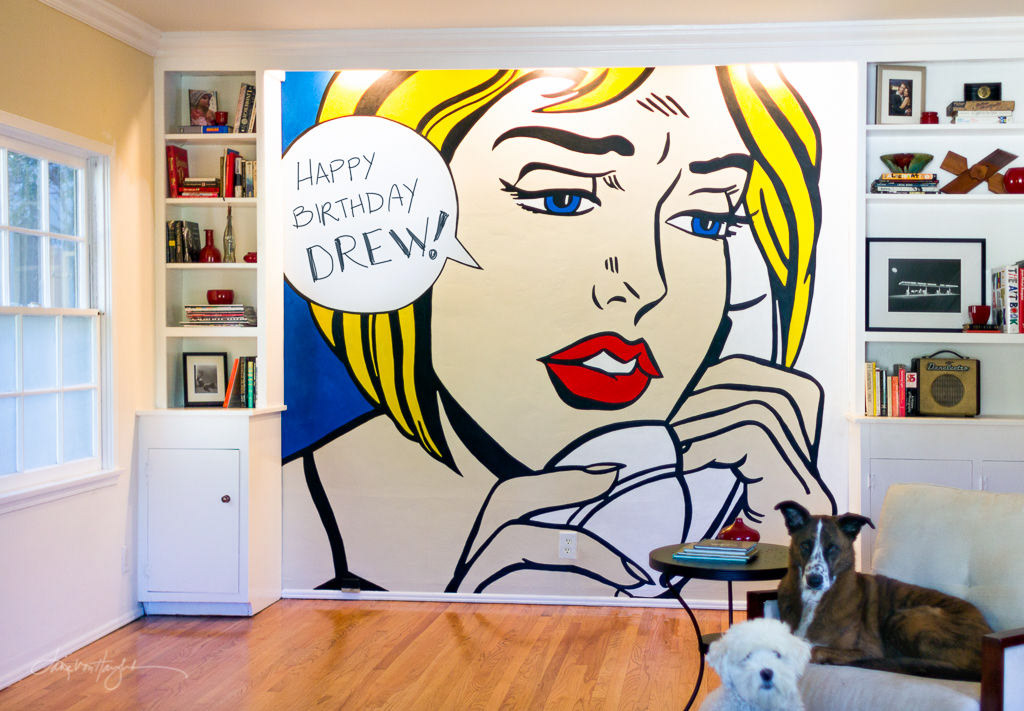
Do you have a big wall in your house that could use a POP of ART? How about one that can be changed to say whatever you want it to? You can make your own wall-sized, customizable pop art by following these steps:
Step 1: Gather Your Materials
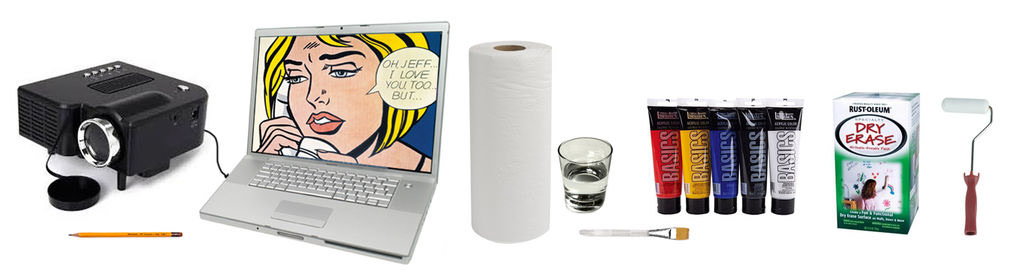
To paint the mural the way I did, you will need the following:
1. Projector that can project your desired final image size
2. Computer machine to get your image into your projector
3. Digital file of image you want to paint
4. Pencil
5. Small flat brush with fairly firm bristles
6. Acrylic paint
7. Paper towels
8. Glass of water
9. Dry erase or chalk board paint and recommended roller
2. Computer machine to get your image into your projector
3. Digital file of image you want to paint
4. Pencil
5. Small flat brush with fairly firm bristles
6. Acrylic paint
7. Paper towels
8. Glass of water
9. Dry erase or chalk board paint and recommended roller
Step 2: Choose Your Image
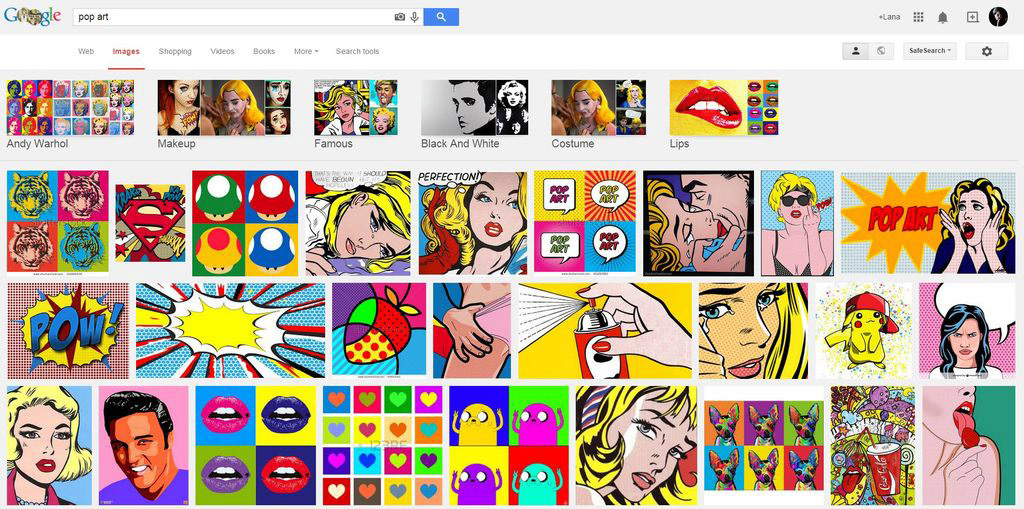
Google is your friend
I just did a google search for "pop art" and clicked on "images" to find the image I liked. Mine is by artist Roy Lichtenstein. The first image of its kind I found was small, only 397px x 400px. I narrowed my search to "lichtenstein" and selected "search tools" to look for images "larger than 2 MP." Doing this, I was able to find the same image that was 2433px x 2406px, which is much clearer and easier to trace when it is enlarged through the projector.
If you find an image in a book, you will need to scan it into a digital file (scan at the highest resolution).
Make it easy on yourself
It is much easier to paint an image with blocks of color as opposed to various shades. The image I chose was easy because it was just plain yellow, blue, red, white and black. I didn't have to mix any colors, they came right out of the tube. I also decided not to try to replicate the Ben-Day dots because it would be too time-consuming and probably wouldn't turn out that great.
Don't forget the bubble
if you want to use the dry erase or chalkboard paint, make sure your image has a speech or thought bubble.
Step 3: Project and Trace
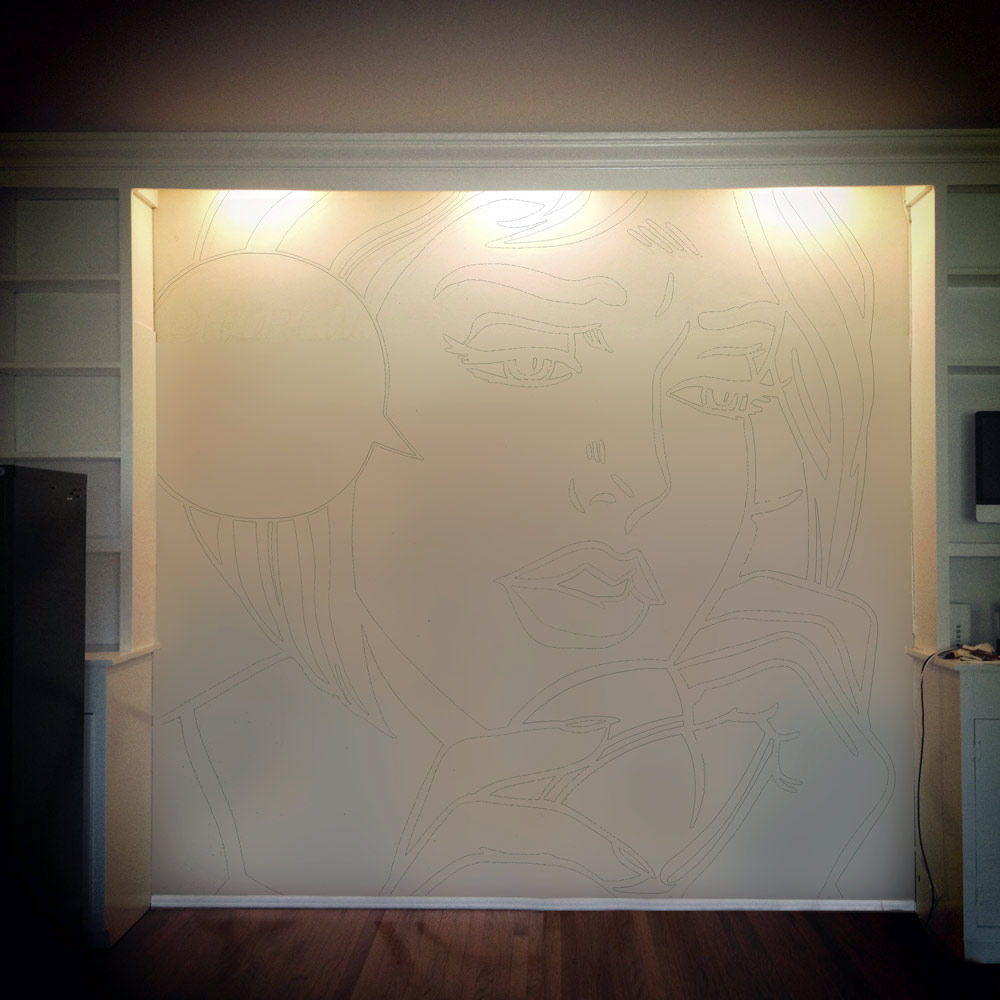
Project
Whatever projector and computer machine you are using, get them hooked up together and projecting your image onto your wall. You may have to move the projector toward or away from the wall to get the image to fill up the wall space. You may also have to raise or lower the projector to get the image in the center vertically. I chose to flip my image horizontally so that the woman was looking into the house instead of out the window.
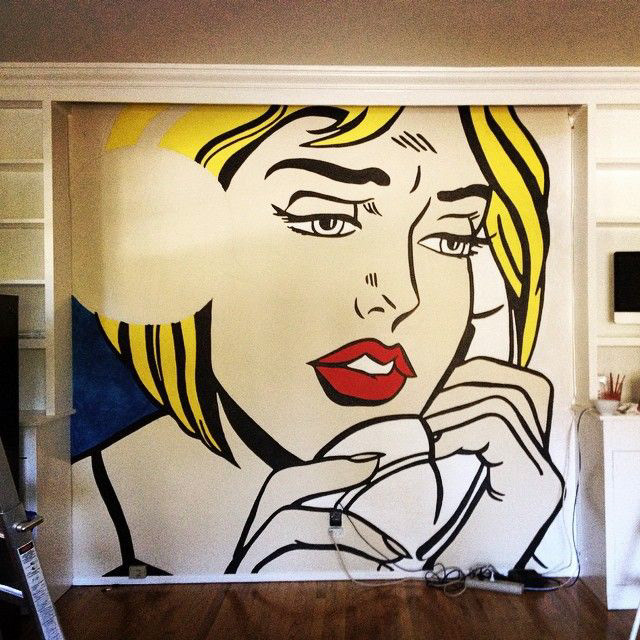
Trace
Once the image is positioned and in focus, start tracing! You will want to outline every line and color. Draw lightly so it will be easy to erase any pencil marks that are still showing later (or use your touch up paint). DO NOT move the projector until you are finished with all of the tracing because it's very hard to get it re-positioned once it's moved. If you are not sure if you've gotten everything, turn the projector off (carefully so as not to move it) and take a look at the wall without the image on it. If you missed a spot, turn the projector back on to finish up.
Step 4: Paint!
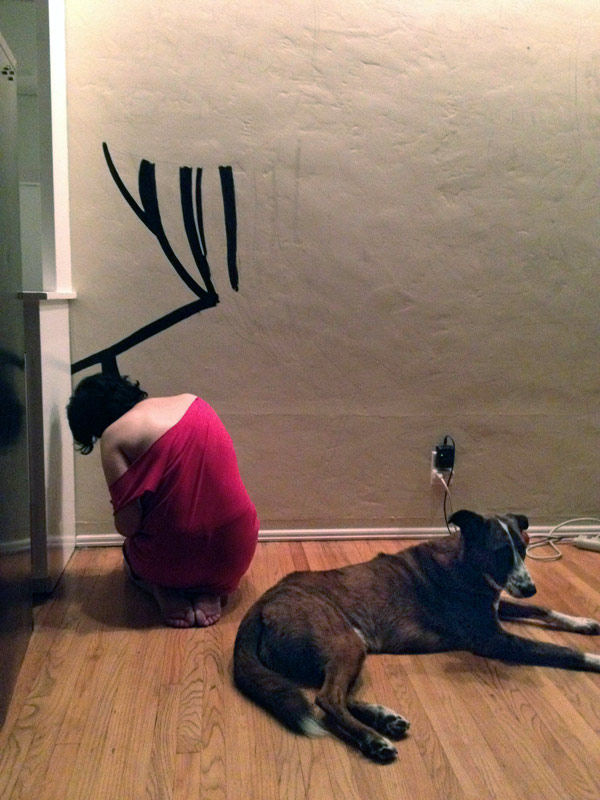
Use the right brush
I used a small, flat brush to paint my entire mural. For the outlining, I turned the brush so I was leading with the narrow edge, and then filled in the color using the broad edge. You'll want a brush with fairly firm bristles especially if your wall is not totally smooth. Also, firmer bristles help when painting with heavier paint like acrylic.
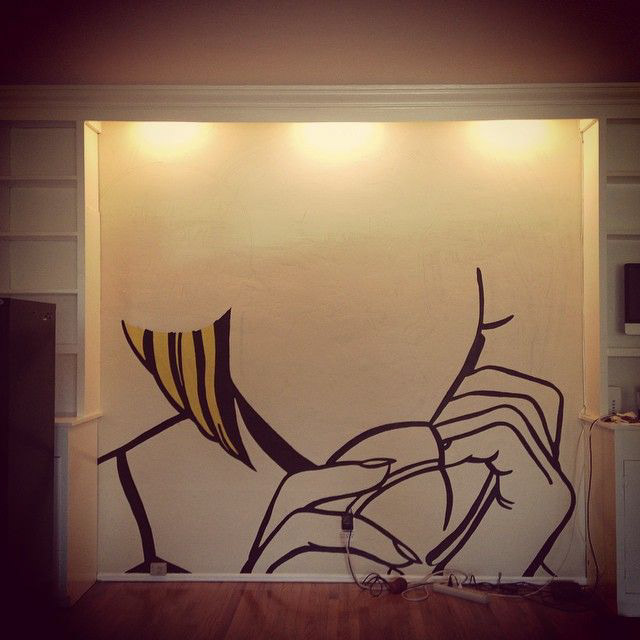
Use the right paint
Acrylic paint is thick enough to do a great job, but you will likely need 2 coats if you are painting dark colors onto a light colored wall. To make the colored paint (not black) a bit less transparent, you can add a little white to it.
Use the right order
Paint your outline first, then color in the rest of the image. If you paint with color first, you may paint over your pencil outline and not be able to see it later.
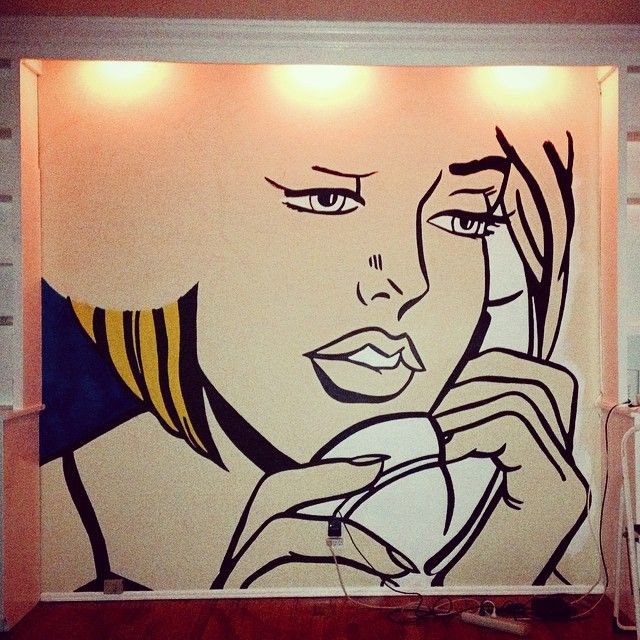
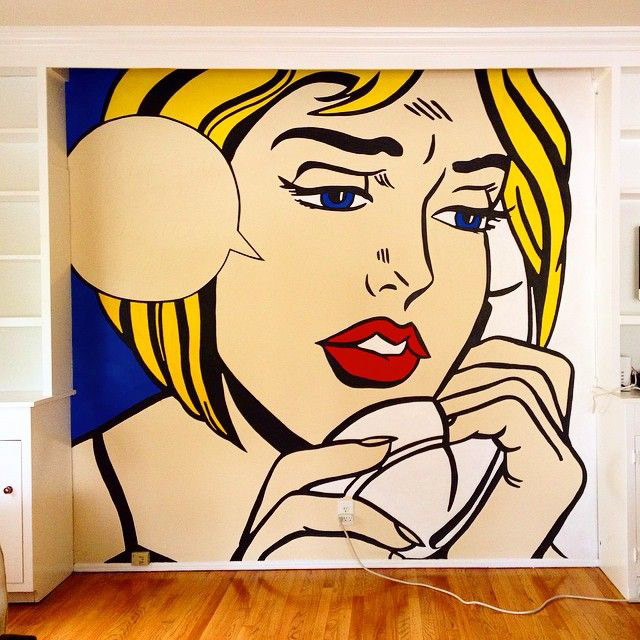
Step 5: It's Bubble Time

Follow the instructions on the chalk board paint or the dry erase paint to fill in your speech or thought bubble. You will probably need to touch up the outline in black when you are done. Now you have a cool pop of art mural on your wall that can say whatever you want it to!